
There's nothing worse than going to tackle a project and have no idea where to start. This is exactly how I felt when a line of 5 vintage floral posters were staring me in the face saying, "Hang me up, darnit. We've been sitting here for 4 weeks!" I honestly looked at Jared and said, just how are we going to do this?
I've never had an epiphany, but this was pretty close.

My first though was to measure each one of them to make sure they're even heights with each other, but that would have taken too long and used too many numbers. Then I remembered the precious cargo that I threw away a few minutes before and dug through the trash I did until I found all 5 of the generic pictures that come with the frames I was using. Since they are the same size as the picture, why not use them to make sure they are all in the right place? Wise words: let the product do the work for you (or something like that).

Above my closet happens to be a handy little ledge where I rested the pictures. However, if you do not have this convenience, just use some tape to stick the pictures to the wall. Super easy to move around and adjust to where you want them.
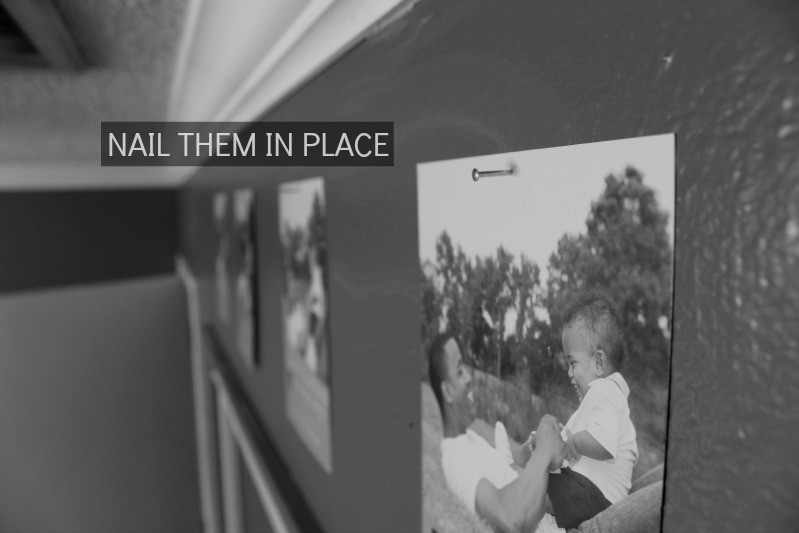
Line the first one up where you would like it to go and remember all the others will follow suit to that one. Take a small nail and hammer it approximately where the picture will hang once it's on the wall, or where the hole in the back of the picture is. This is where another set of eyes will come in handy to see if you have them at the same height and distance apart. Depending on where you hang them, you may be able to step back and take a look for yourself, especially if you tape them. When you're on a ladder and you do have another set of eyes, always take the easy way out, always.

Now the fun part. After you have all 5 generic pictures nailed to the wall, RIP THOSE BABIES DOWN! Such an invigorating feeling and this makes the project go by so much quicker. The nails stay in place exactly where you put them and you are now ready for the final step.

Hang your pictures on the nails and since the generic pictures are the same size as the new pictures in the frames, they will look exactly the same (except without the picture of a stranger and his daughter frolicking in an open field) and you would have achieved the look you're going for.

SOOO easy right? Oh, did I hear you say you want to hang something in a straight line? Though so.
Here is a list of the supplies again:
>>pictures
>>frames
>>saved generic pictures from frames
>>small nails
>>hammer
>>an extra set of eyes (optional)
>>tape (optional)
Happy weekend everyone! Tomorrow I'm off to Tallahassee again to see my best friend. This time I will be coming back without a tattoo. Bummer, right?
2 comments:
what a great idea! I had never thought of that before!
ohhh, this is so neat! i love how ours turned out!
lindsey louise
hellomrrabbitblog.com
Post a Comment